利用Dragonbaord 410c开发板搭建具有运动追踪功能摄像头
很多时候我们不在家的时候,都希望能够了解到家里的情况,这时候你可能想到需要一个web摄像头来进行监控,但是作为一个410c开放爱好者,我们去买一个这样的摄像头就太浪费了,今天就带大家一起来用手中的dragonbaord 410c开发板来实现一些个简单的带有运动追踪功能的摄像头,废话不多说,接下来上干货。
一、准备工作
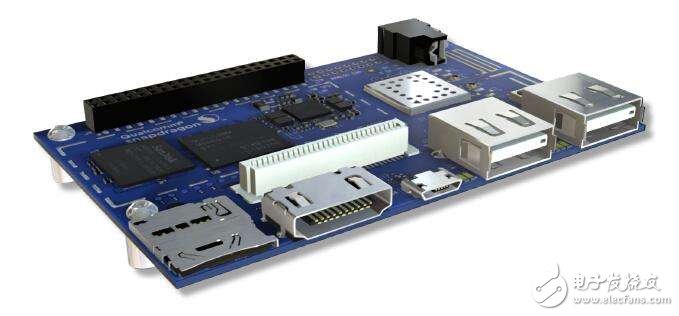
准备一块dragonboard 410c开发板、一个USB摄像头、鼠标、键盘当然还有适配器和能够接入网络的wifi热点。
这里鼠标和键盘主要是用来进行开发,如果你的dragonboard 410c开发板已经安装好了debain操作系统,这里我们接下来的工作将全部在dragonboard 410c开发板上完成,不需要PC机,具体环境搭建参考如下:
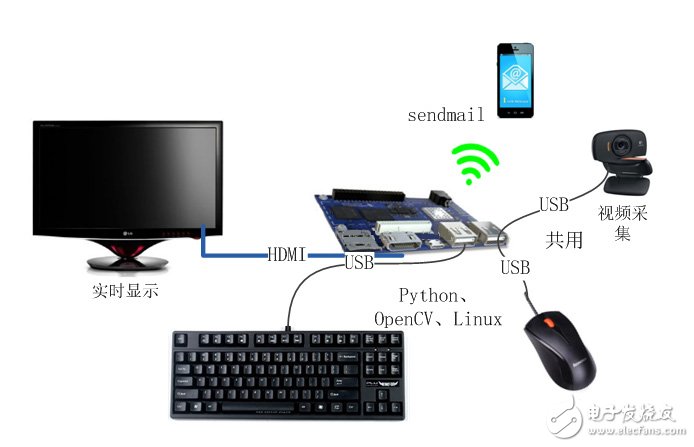
按照上述环境搭建后,就可以启动你的dragonboard410c开发板了,这里首先我们不连接摄像头,直接连接鼠标,因为还需要配置你的dragonboard 410c开发板的网络和在上面进行编程,编号程序后运行程序的时候再讲鼠标拔掉,连接USB摄像头。
二、代码实现
整个开发过程中采用Python脚本语言来进行设计,并且借助于opencvpython库来进行相关的图形处理操作,废话不多说,具体代码如下:
#!/usr/bin/env python
import argparse
import dateTIme
import imuTIls
import TIme
import cv2
import numpy as np
ap = argparse.ArgumentParser()
ap.add_argument("-v","--video", help="path to the video file")
ap.add_argument("-a","--min-area", type=int, default=5000, help="minimum areasize")
args = vars(ap.parse_args())
ifargs.get("video", None) is None:
camera = cv2.VideoCapture(0)
TIme.sleep(0.1)
else:
camera = cv2.VideoCapture(args["video"])
framenext = None
firstFrame = None
i=0
while True:
(grabbed, frame) = camera.read()
text = "Unoccupied"
if not grabbed:
break
frame = imutils.resize(frame, width=500)
framenext = frame
gray = cv2.cvtColor(frame, cv2.COLOR_BGR2GRAY)
#gray_pre = np.float32(gray)
gray = cv2.GaussianBlur(gray, (21, 21), 0)
if firstFrame is None:
firstFrame = gray
continue
frameDelta = cv2.absdiff(firstFrame, gray)
thresh = cv2.threshold(frameDelta, 115, 255, cv2.THRESH_BINARY)[1]
thresh = cv2.dilate(thresh, None, iterations=2)
(cnts, _) = cv2.findContours(thresh.copy(), cv2.RETR_EXTERNAL,
cv2.CHAIN_APPROX_SIMPLE)
for c in cnts:
# if the contour is too small, ignore it
if cv2.contourArea(c) < args["min_area"]:
continue
# compute the bounding box for the contour draw it on the frame
# and update the text
(x, y, w, h) = cv2.boundingRect(c)
cv2.rectangle(frame, (x, y), (x + w, y + h), (0, 255, 0), 2)
text = "Occupied"
# caculation feature points
graynext =cv2.cvtColor(framenext, cv2.COLOR_BGR2GRAY)
#graynext = np.float32(graynext
运动追踪 DragonBoard 410c 相关文章: