OneWireViewer和iButton?快速使用
- Click on the Windows icon for Windows Vista or the Start button for Windows XP (usually lower left corner of the screen).
- Select All Programs.
- Click on the "1-Wire Drivers x86" folder.
- Click on OneWireViewer.exe.
Step 3. Install Bundled OneWireViewer and 1-Wire Drivers
After clicking on the download button, click Run on the window that asks, "Do you want to run or save this file?" See Figure 2.
Figure 2. Download window.
After clicking Run, the window in Figure 3 will appear. If you want to run this software, click Run.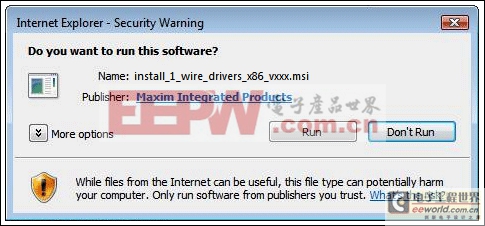
Figure 3. Window for running the installation software.
After this, you will be prompted to affirm the license agreement if you choose to use the 1-Wire drivers and the OneWireViewer software. After you affirm the license agreement, you will see another window that shows the progress of the installation. After installation completes, the final window shows a Finish button that, when clicked, completes the installation.
Step 4. Complete USB Installation
Now plug the DS9490R# USB adapter into your PC, as shown in Figure 4. Follow the Microsoft new-hardware wizard instructions to complete the plug-and-play portion of the installation.
Figure 4. Plugging the USB adapter into the PC.
This phase of the installation uses a Microsoft driver called WinUSB that allows the 1-Wire drivers to communicate through the USB port. Plugging in the USB adapter triggers a Microsoft plug-and-play event that links WinUSB properly to the 1-Wire drivers. Remember: If you try to plug in the USB adapter before Step 3 is complete, the plug-and-play action will not be able to link WinUSB to the 1-Wire drivers correctly.
In Windows Vista, the plug-and-play installation window (Figures 5 and 6) will appear. (See Figures 7 and 8 for the installation with Windows XP.):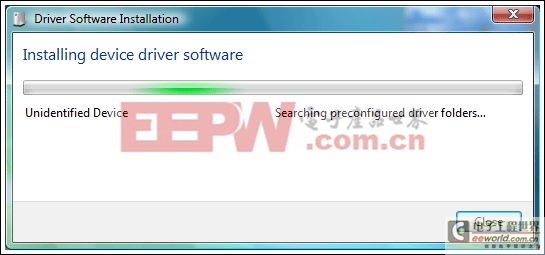
Figure 5. Windows Vista plug-and-play installation window.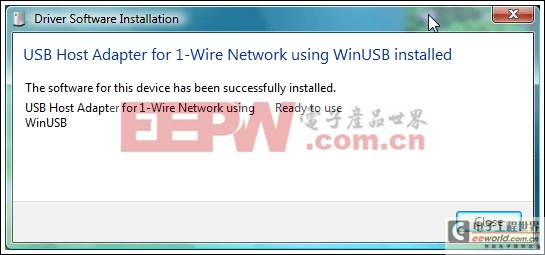
Figure 6. Windows Vista completion of plug-and-play installation.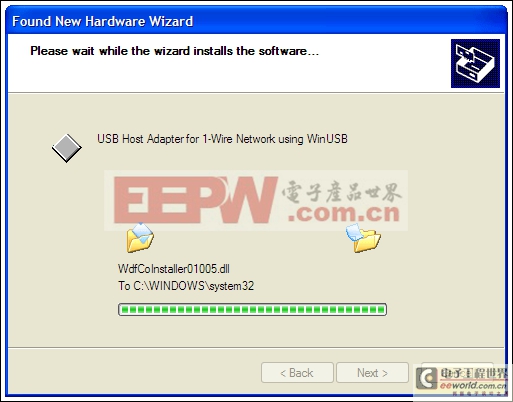
Figure 7. Windows XP plug-and-play installation window.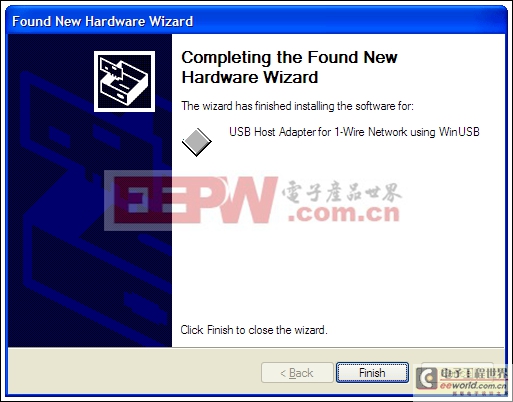
Figure 8. Windows XP completion of plug-and-play installation.
Step 5. Start the OneWireViewer Program
Follow these steps to launch the OneWireViewer from Windows Vista or Windows XP:
Step 6. Connect the iButton and the Reader
Next, snap the iButton into one of the blue dots on the reader (Figure 9) and plug the reader into the adapter (Figure 10). The 1-Wire communication protocol can read multiple devices on the network at the same time. So if you have two iButtons, you can plug them into both blue dots on the reader. The unique 64-bit ID will appear in the OneWireViewer window for each iButton as it is snapped into the blue dot.
Figure 9. Connect an iButton to the reader by snapping it into place.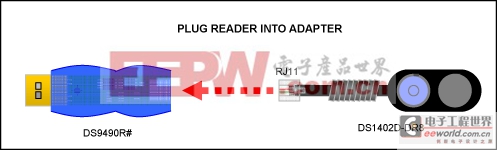
Figure 10. Connect the reader to the adapter.
Step 7. Run the OneWireViewer
The OneWireViewer can communicate with all versions of iButtons, including Hygrochron? and Thermochron? temperature loggers, memory iButtons, and simple identification iButtons. Each iButton type serves a different purpose, so for detailed information on how to use OneWireViewer for each application, see application note 3358, "OneWireViewer User's Guide."
The OneWireViewer program is open source, so software developers can use this as a foundation to develop their own applications. See our page with Software Development Kits for information on our open source code examples.
Additionally, Maxim has many partners who have written software tailored for specific iButton applications. To search for partners who offer iButton software and system solutions, see our Solutions Search database.
Problem Solving
If you encounter problems getting the OneWireViewer to
模拟电路 模拟芯片 德州仪器 放大器 ADI 模拟电子 相关文章:
- 12位串行A/D转换器MAX187的应用(10-06)
- AGC中频放大器设计(下)(10-07)
- 低功耗、3V工作电压、精度0.05% 的A/D变换器(10-09)
- PIC16C5X单片机睡眠状态的键唤醒方法(11-16)
- 用简化方法对高可用性系统中的电源进行数字化管理(10-02)
- 利用GM6801实现智能快速充电器设计(11-20)